Getting Started
This guide walks through the first Tuff workflow: initialize a project, create or install a capability, detect drift, and validate the result.
For every command, the CLI Reference has the complete flags, scope behavior, and examples.
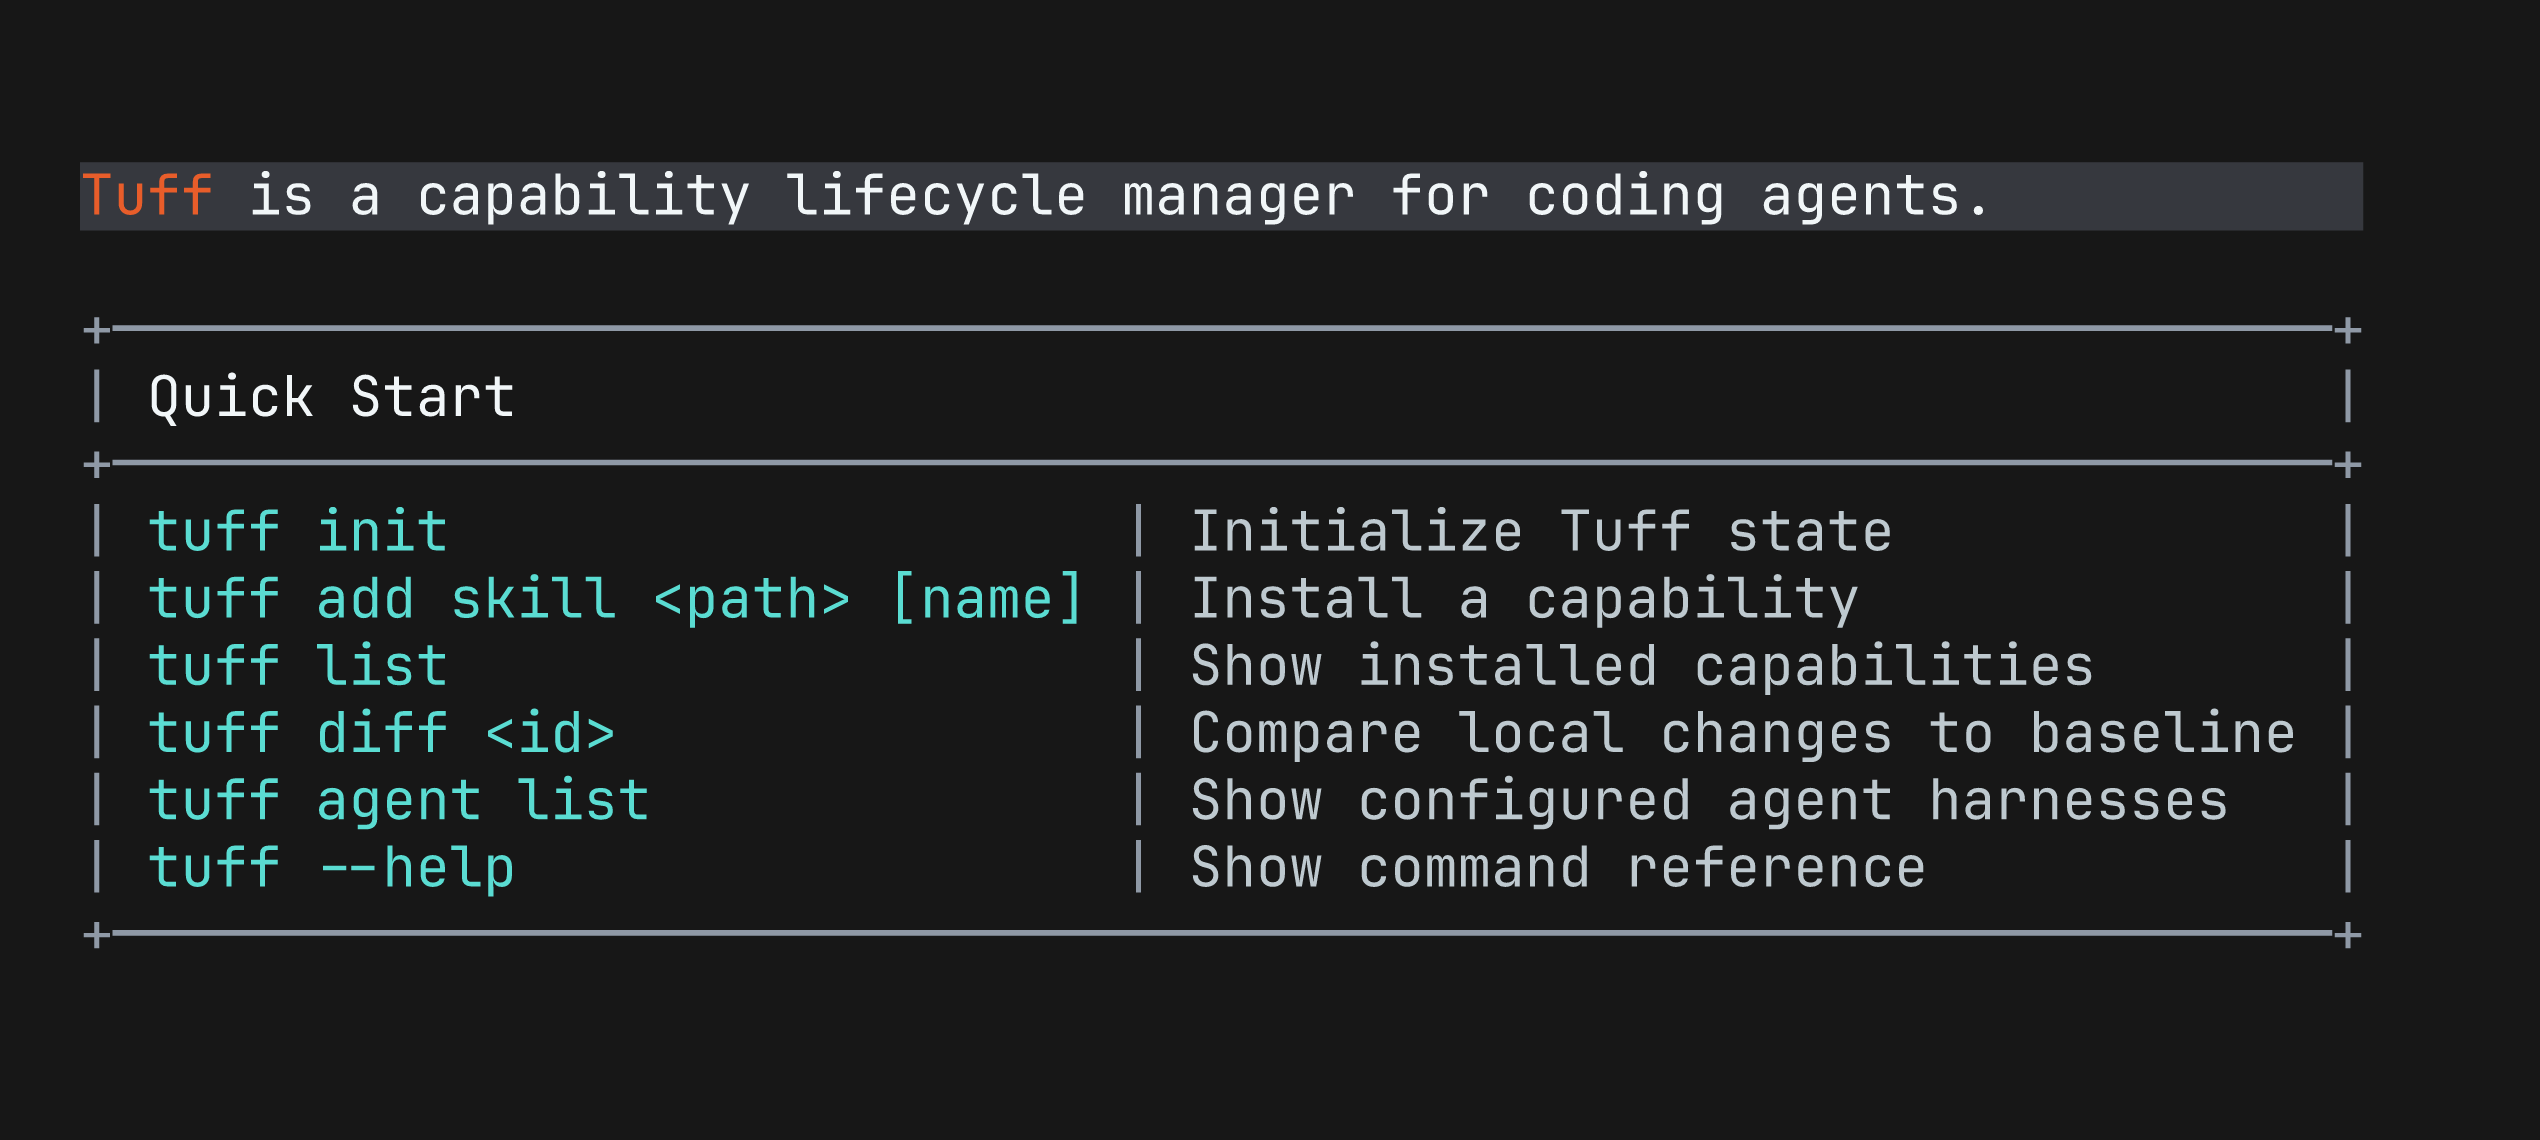
Before you initialize anything, tuff gives you a quick overview of the CLI:
1. Initialize Tuff
Section titled “1. Initialize Tuff”tuff initCreates tuff.lock and optional project preferences, configures open-agents as the default agent, and scaffolds .agents/
directories, and auto-installs tuff-cli-guide, a reference skill your coding agent can read to
learn Tuff commands.
See tuff init for project and global initialization.
2. Configure another harness (optional)
Section titled “2. Configure another harness (optional)”tuff init is enough for the default .agents/ workflow. Register another harness when you want
to emit capabilities into its native directory:
tuff harness add claudetuff harness add codextuff harness add cursorTo make that harness the default for later commands, run:
tuff harness set-default claudeIn Tuff 0.11 and earlier, the command is tuff agent. See tuff harness for registration, defaults, aliases, and global settings.
3. Create and track your first capability
Section titled “3. Create and track your first capability”tuff create skill my-skillTuff creates a valid starter scaffold in .agents/skills/my-skill/, records the baseline, and
starts tracking drift without requiring a separate import.
To create it for another agent explicitly:
tuff create skill my-skill -a claudeSee tuff create for skills, tools, hooks, and repeated harness
selection.
If your project already has a skill under .agents/skills/, add it in place:
tuff add skill .agents/skills/existing-skill -a open-agentsSee tuff add for adopting existing files and installing from git.
4. Inspect what is installed
Section titled “4. Inspect what is installed”tuff listtuff list shows the capability type, agent, drift status, and emitted path. See
tuff list for scope and type filters.
5. Edit and detect drift
Section titled “5. Edit and detect drift”After editing .agents/skills/my-skill/SKILL.md, inspect the change:
tuff listtuff diff my-skilltuff list shows the capability as modified and tuff diff shows the tracked changes. See
tuff diff for baseline and upstream comparisons.
If the drift is intentional and should become the new baseline:
tuff update my-skillCommands use the configured default harness when -a/--harness is omitted. Pass -a <harness> to
operate on a different harness, or repeat the flag for several harnesses. See
tuff update for source-aware updates and dry runs.
For existing files that were added in place, later edits follow this same drift and update flow.
6. Install from git
Section titled “6. Install from git”tuff add skill https://github.com/pproenca/dot-skills rust-implement -a open-agentsThe command installs the selected capability, tracks the upstream revision, and records
everything in the lockfile. Replace skill with tool or hook when installing
another capability type. See tuff add for local and Git source patterns.
7. Check for updates
Section titled “7. Check for updates”tuff outdatedtuff update rust-implementtuff outdated compares tracked git-backed capabilities against their latest upstream revision,
and tuff update reconciles them when you are ready. See tuff outdated
and tuff update.
8. Clean up a capability
Section titled “8. Clean up a capability”Delete files Tuff generated for the default agent:
tuff delete rust-implementIf the capability was added from files you already owned, preserve those files and remove only Tuff tracking:
tuff untrack my-skillSee tuff delete and tuff untrack for explicit
agent selection, global scope, and force behavior.
tuff harness remove <harness> only unregisters the harness. It does not remove capabilities.
9. CI validation
Section titled “9. CI validation”tuff check# tuff-cli-guide skill open-agents ok# my-skill skill open-agents okSee tuff check for JSON output, failure handling, and the GitHub Actions
example.
For deeper scenario walkthroughs, see the development lifecycle guide.